MINI GRIPS INSTALL
GUIDE FOR INSTALLING YOUR MAC RIDE MINI GRIPS:
Key Points
- Different bikes will require different strategies.
- All bikes will require that you remove at least one adult grip and one set of gears/brakes in order to thread the Mini Grips on the handlebars.
- It is likely you will need to remove the handlebars, or at least loosen them, so you can shift the bars left and right to thread the Mini Grips on.
- Typically, mountain bike handlebars have a bulge in the middle that means you have to install 1 Mini Grip on the left side, and one on the right. This means removing both adult grips and both gears/brakes.
- Typically, commuter bike handlebars are thin throughout, and you can remove the bars and feed both Mini Grips on just one side.
- The Mini Grips do stretch, so be careful not to thread them over a bulge that will overstretch/tear them.
- Hairspray is your friend-- when it's wet, it's a lubricant to help remove grips; when it's dry, it's a glue to hold grips in place.
- If in doubt, take the Mini Grips to your bike shop and ask for help.
INSTALLING MINI GRIPS- SUMMARY IMAGES
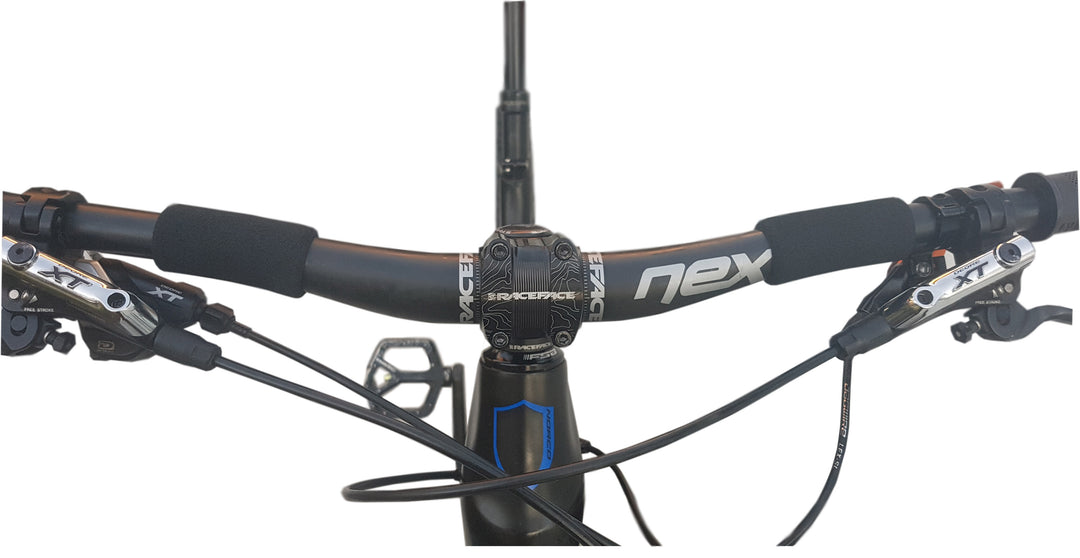
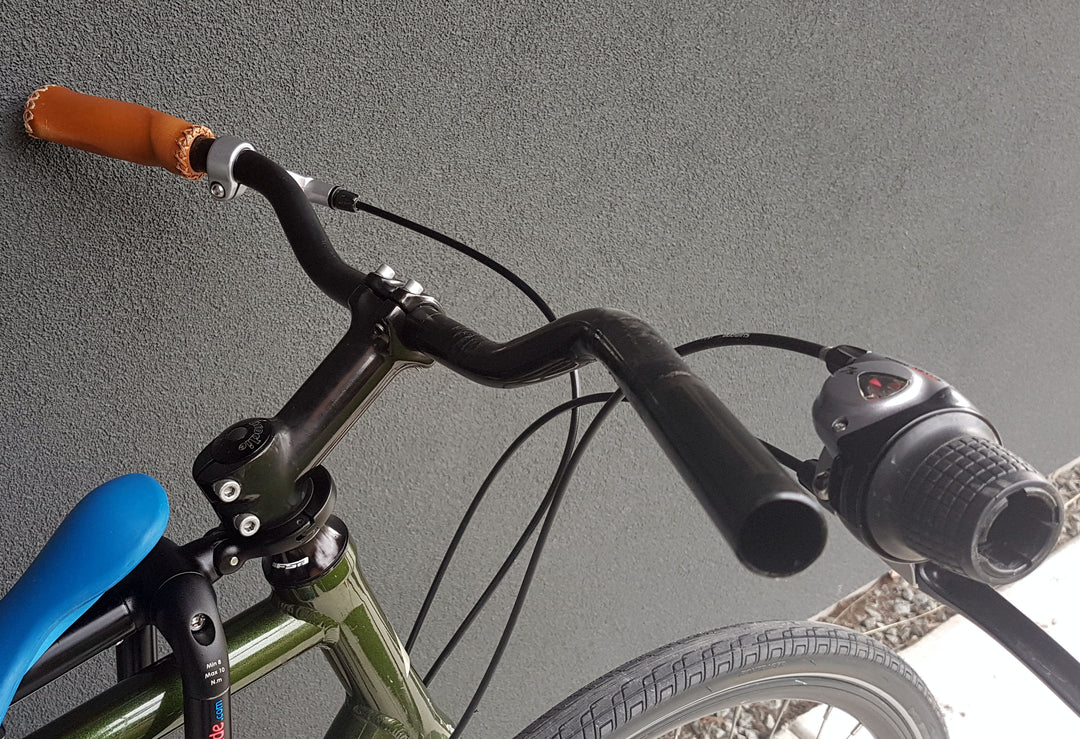
1. Before the Mini Grips
2. Remove adult grip, brakes/gears on 1 side
3. Your bars will look like this-
4. Remove your bars from your stem.Now that your bars are free for the Mini Grips....
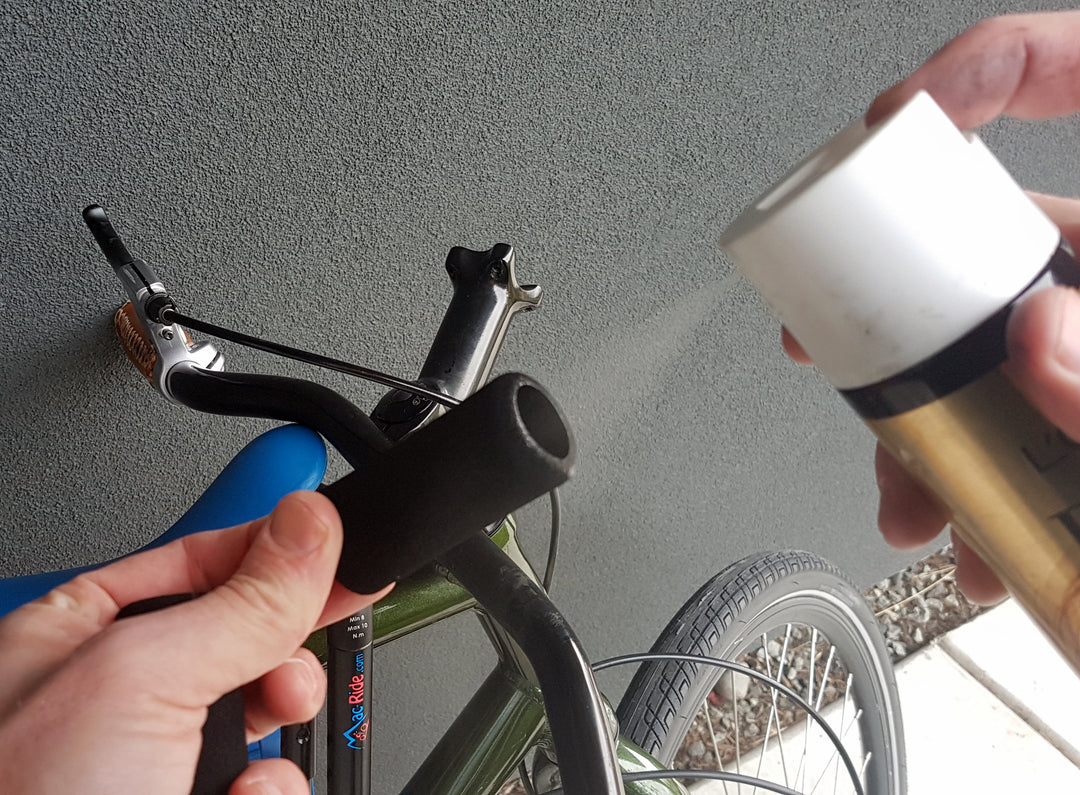
4.1 Spray the inside of one Mini Grip with hairspray.
4.2 Quickly slide it on your bars and place it in the ideal spot for your little one.
4.3 Leave it to dry.
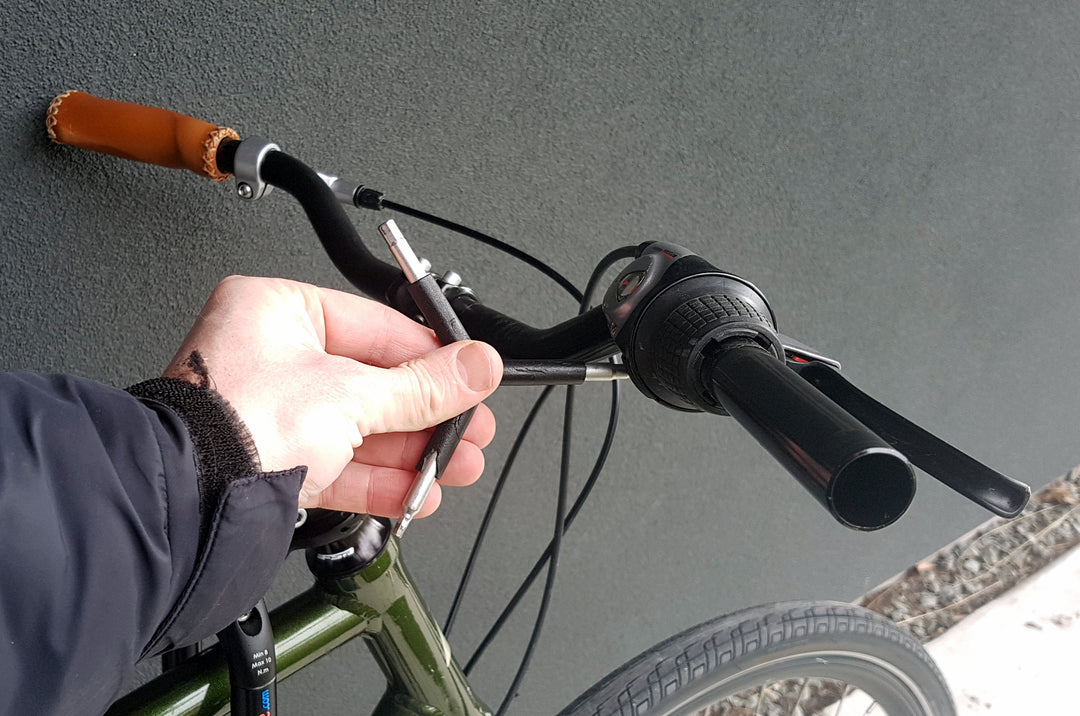
4.4 Do the same for the other Mini Grip. (Sometimes, both Mini Grips will feed on from one side. Other times, they will feed on one from each end of the bar, and you will need to loosen your bars to shuggle them left and right for there to be enough remove in the cables to slide off brakes and gears.)
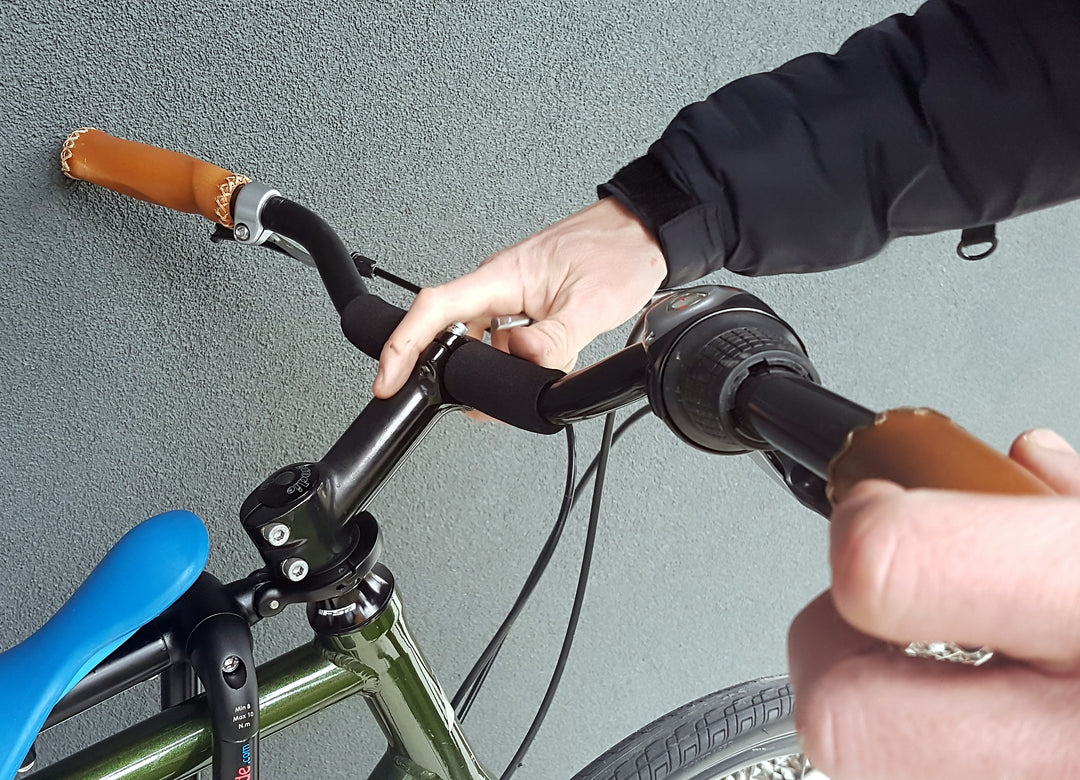
4.5 Leave to dry for 1 minute, then install your gears, brakes and adult grips. If you don't have lock-on grips, use hair spray for your adult grips too.
4.6 Reverse steps to re-install, with hairspray
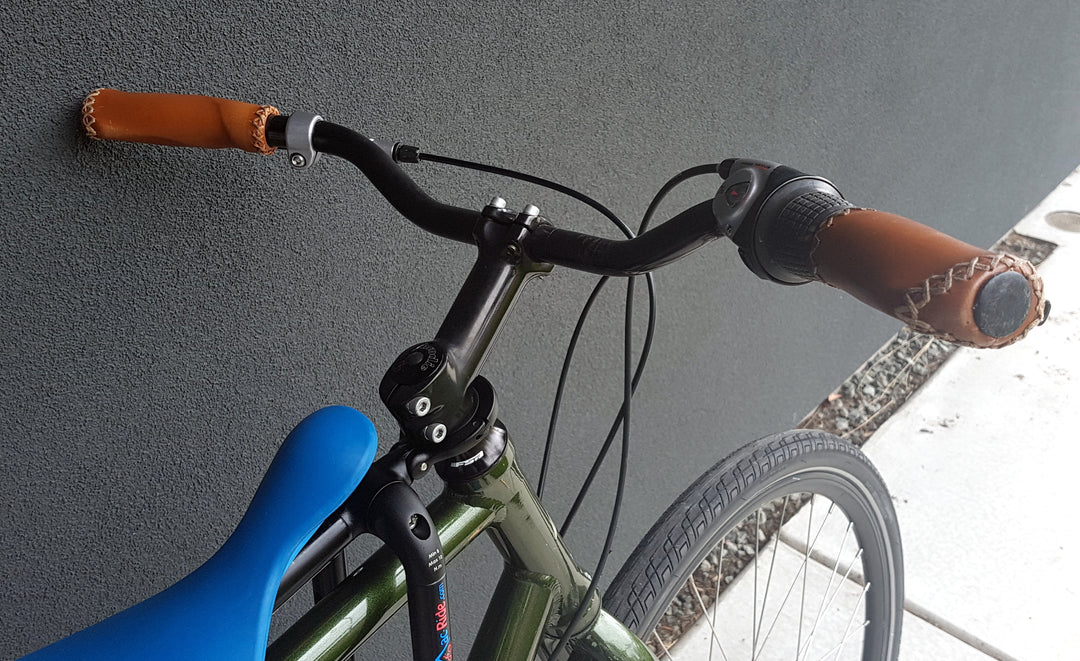
5. Adult grip goes back on
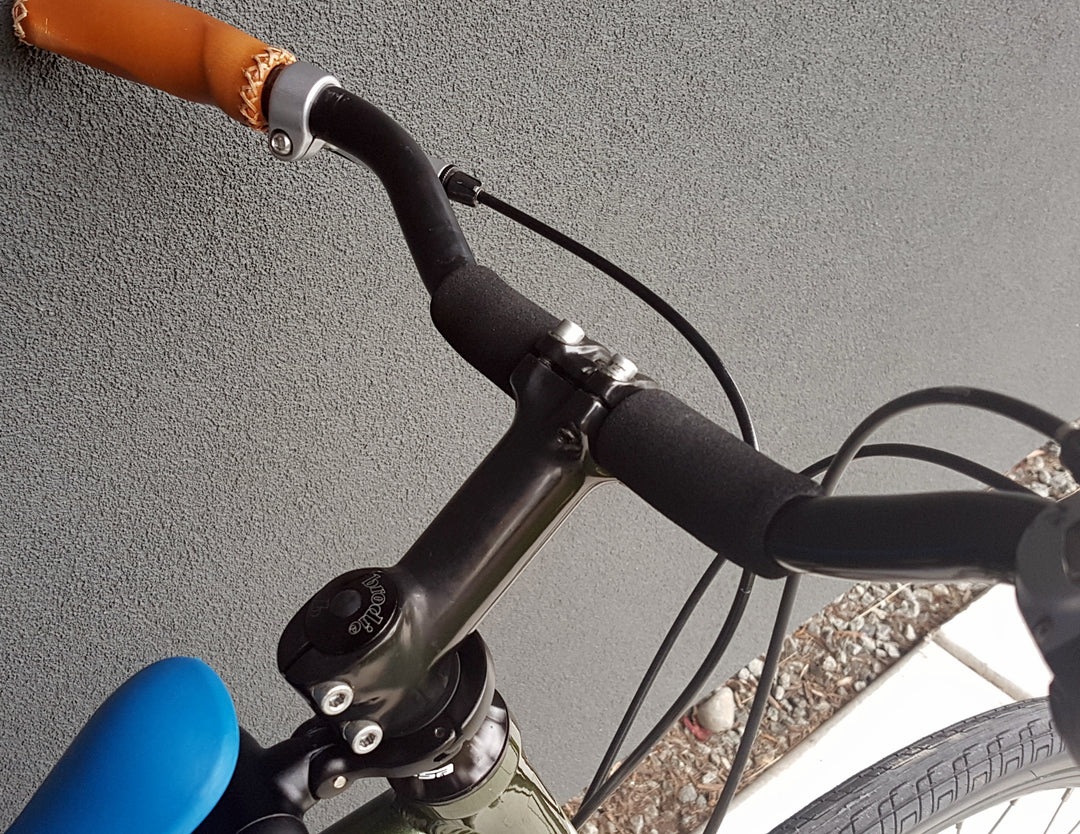
6. Et voila!
GUIDE: IF YOU HAVE TO REMOVE OR LOOSEN YOUR HANDLEBARS
Removing bars
- Use an allen key to loosen the bolt in the top cap on the steerer
- Remove the bolt and top cap and keep them safe
- Loosen the two bolts at the side of the stem
- Lift upwards on both sides to take the handlebars and stem off of the steerer tube
Installing bars
- Replace the stem/bars back on the steerer tube
- Place the top cap and bolt on the steerer tube and tighten to 4/5, not all the way
- Check for alignment
- Use pressure on brakes on both sides and feel the wiggle
- Tighten the bolt in the top cap fully
- Use pressure again on brakes on both side and wiggle; the wiggle should be gone-- this is your test to make sure the bolt in the top cap is installed and tightened correctly.
- Tighten both side bolts.
GUIDE: REMOVING AND RE-INSTALLING ADULT GRIPS, GEARS, AND BRAKES
- Most mountain bike grips now have a lock-on grip. If so, use an allen key to remove the grip. If not, you need a screwdriver or the like, to break the seal between the grip all around the bar. Once the seal is broken, you can twist the grip off the bar.
- Take note of the placement and angle of your gears and brakes; perhaps take a picture to be sure.
- Use an allen key to loosen the bolts on the gears and brakes. Most gears/brakes will slide off the bar when loose. Some have an opening mechanism instead.
- Reverse the steps once your Mini Grips are on your bars and you are ready to replace your gears, brakes, and adult grips.
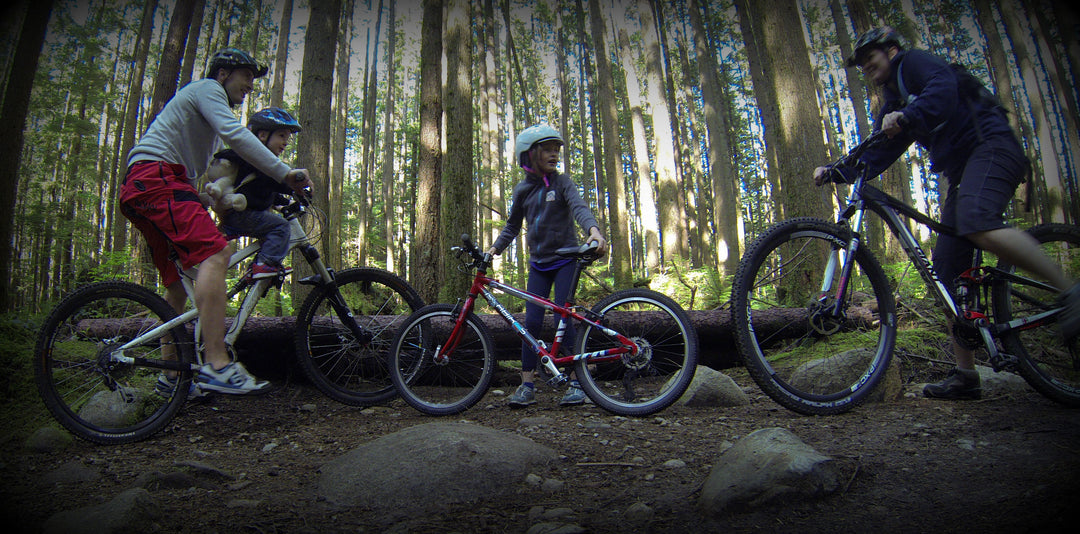
Ready to ride more?
Shop our child bike seats + accessories, and start riding more, together.